
Basic operations
Now that you have installed your CDK cluster, what can you do with it? This page details some basic cluster operations, including how to check the status of your cluster and test that it is working with the built-in demo deployment.
If you are already familiar with this, you may still like to check out the Next steps for more useful guides on operating CDK.
Install and configure kubectl
You will need kubectl to be able to use your Kubernetes cluster. If it is not already installed (it is automatically installed if you used conjure-up to deploy CDK), it is easy to add via a snap package:
sudo snap install kubectl --classic
For other platforms and install methods, please see the Kubernetes documentation.
The config file for accessing the newly deployed cluster is stored in the cluster itself. You should use the following command to retrieve it:
juju scp kubernetes-master/0:config ~/.kube/config
Caution: If you have multiple clusters you will need to manage the config file rather than just replacing it. See the Kubernetes documentation for more information on managing multiple clusters.
You can verify that kubectl is configured correctly and can see the cluster by running:
kubectl cluster-info
Now you can run pods inside the Kubernetes cluster:
kubectl create -f example.yaml
List all pods in the cluster:
kubectl get pods
List all services in the cluster:
kubectl get services
Accessing the Kubernetes dashboard
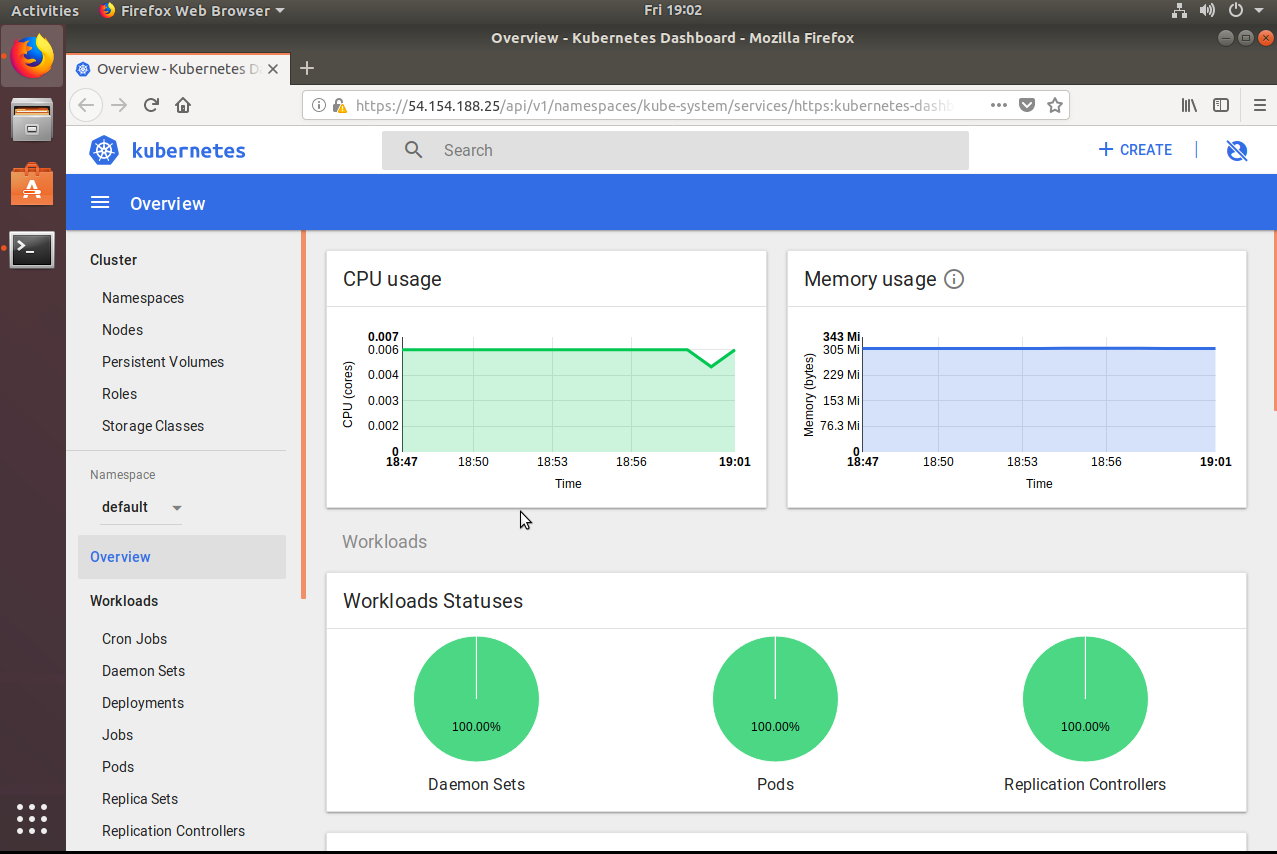
To check that everything is actually working, you may want to log in to the Kubernetes Dashboard.
The recommended way to do this is to use the built-in proxy service, run with the following:
kubectl proxy
The URL for the dashboard will then be http://localhost:8001/api/v1/namespaces/kube-system/services/https:kubernetes-dashboard:/proxy/
Open a browser at the address for the Dashboard. You will see an authentication screen:
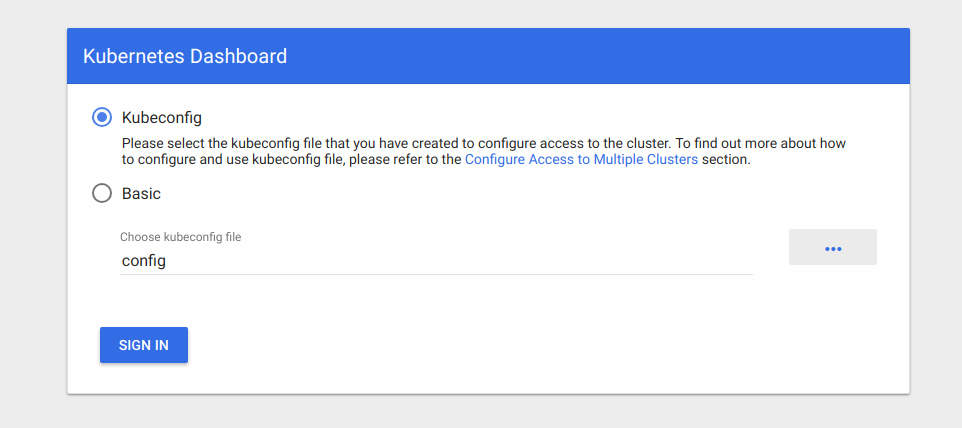
You will need to log in to the Dashboard with a valid user. The easiest thing to do is to select your kubeconfig file, but for future administration, you should set up role based access control.
Using Ingress
The kubernetes-worker charm supports deploying an NGINX ingress controller. Ingress allows access from the Internet to containers running web services inside the cluster.
First allow the Internet access to the kubernetes-worker charm with with the following Juju command:
juju expose kubernetes-worker
In Kubernetes, workloads are declared using pod, service, and ingress definitions. An ingress controller is provided to you by default and deployed into the default namespace of the cluster. If one is not available, you may deploy it with:
juju config kubernetes-worker ingress=true
Ingress resources are DNS mappings to your containers, routed through endpoints.
Configuring DNS
CDK 1.14+ has CoreDNS enabled by default, which allows pods within Kubernetes to communicate with other pods or services by name.
If you would like to disable DNS (for example, to deploy your own custom DNS solution), you can use:
juju config kubernetes-master dns-provider=none
To deploy a customised DNS configuration, first disable the charm-managed DNS provider (see above). After deploying your DNS pods, don’t forget to configure kubelet with the IP of your DNS service:
juju config kubernetes-worker kubelet-extra-config="{clusterDNS: ['10.152.183.123']}"
Running the packaged example
As an example for users unfamiliar with Kubernetes, we packaged an action to both deploy an example and clean itself up.
This action performs the following steps:
-
It creates a deployment titled ‘microbots’ comprised of a number of replicas defined during the run of the action.
-
It also creates a service named ‘microbots’ which binds an ‘endpoint’, using all of the ‘microbots’ pods.
-
Finally, it will create an ingress resource, which points at a xip.io domain to simulate a proper DNS service.
To deploy 3 replicas of the microbot web application inside the Kubernetes cluster run the following command:
juju run-action kubernetes-worker/0 microbot replicas=3 --wait
This should result, after a few moments, in output similar to the following (Your FQDN will be different and contain the address of the cloud instance.)
id: 4d4a2245-e544-45d1-886d-b828ccf72c47
  results:
    address: microbot.52.87.186.136.xip.io
  status: completed
  timing:
    completed: 2019-03-22 15:00:39 +0000 UTC
    enqueued: 2019-03-22 15:00:34 +0000 UTC
    started: 2019-03-22 15:00:37 +0000 UTC
  unit: kubernetes-worker/0
At this point, you can inspect the cluster to observe the workload coming online.
List the pods
kubectl get pods
    NAME                        READY   STATUS    RESTARTS   AGE
    microbot-5b9864df4d-q7b94   1/1     Running   0          2m31s
    microbot-5b9864df4d-rx9b2   1/1     Running   0          2m31s
    microbot-5b9864df4d-x7ppr   1/1     Running   0          2m31s
List the services and endpoints
kubectl get services,endpoints
NAME                 TYPE        CLUSTER-IP      EXTERNAL-IP   PORT(S)   AGE
service/kubernetes   ClusterIP   10.152.183.1    <none>        443/TCP   112m
service/microbot     ClusterIP   10.152.183.62   <none>        80/TCP    3m50s

NAME                   ENDPOINTS                                   AGE
endpoints/kubernetes   10.95.195.54:6443                           112m
endpoints/microbot     10.1.77.12:80,10.1.77.13:80,10.1.77.14:80   3m50s
List the ingress resources
kubectl get ingress
NAME               HOSTS                           ADDRESS   PORTS   AGE
microbot-ingress   microbot.52.87.186.136.xip.io             80      5m36s
When all the pods are listed as Running, you are ready to visit the address listed in the HOSTS column of the ingress listing.
Note: It is normal to see a 502/503 error during initial application deployment
As you refresh the page, you will be greeted with a microbot web page, serving from one of the microbot replica pods. Refreshing will show you another microbot with a different hostname as the requests are load-balanced across the replicas.
Clean up example
There is also an action to clean up the microbot applications. When you are done using the microbot application you can delete them from the pods with one Juju action:
juju run-action kubernetes-worker/0 microbot delete=true
If you no longer need Internet access to your workers, remember to unexpose the kubernetes-worker charm:
juju unexpose kubernetes-worker
To learn more about Kubernetes Ingress and how to configure the Ingress Controller beyond defaults (such as TLS and websocket support) view the nginx-ingress-controller project on github.
Next steps
Now that your CDK cluster is up and running, here are some suggestions for additional things you may wish to try:
- Adding Storage
- Scaling your cluster
- Examining logs
- Decommissioning the cluster
- Need help or want to chat? Get in touch!